
I guess I should lay down a basic framework of the rules. I never really set these in stone, but here's an idea of what you can expect.
Relic Phase-
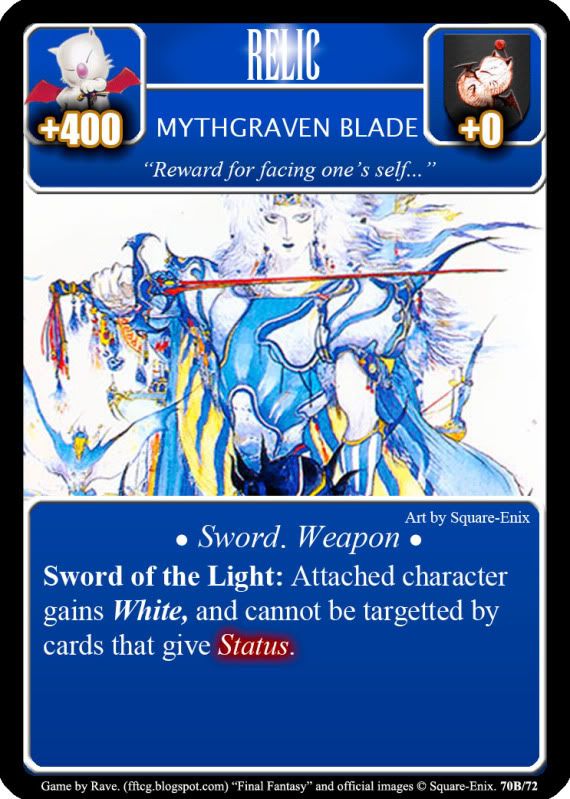
This is the first phase of every round. In this phase, player 1 chooses a relic/location card from his pre-chosen relics, and lays it on the field in front of him location side up. (Player 2 is free to turn over the card and see what the relic is of course, just to see if he wants to commit forces to it)
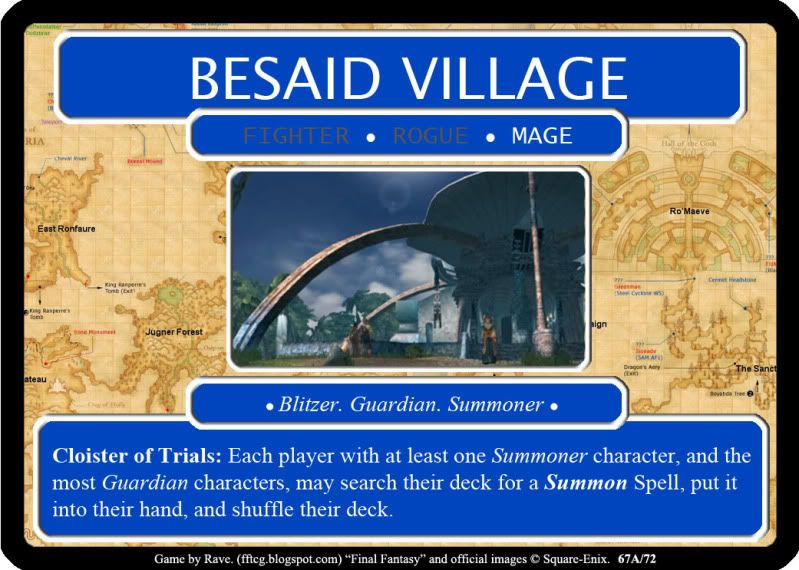
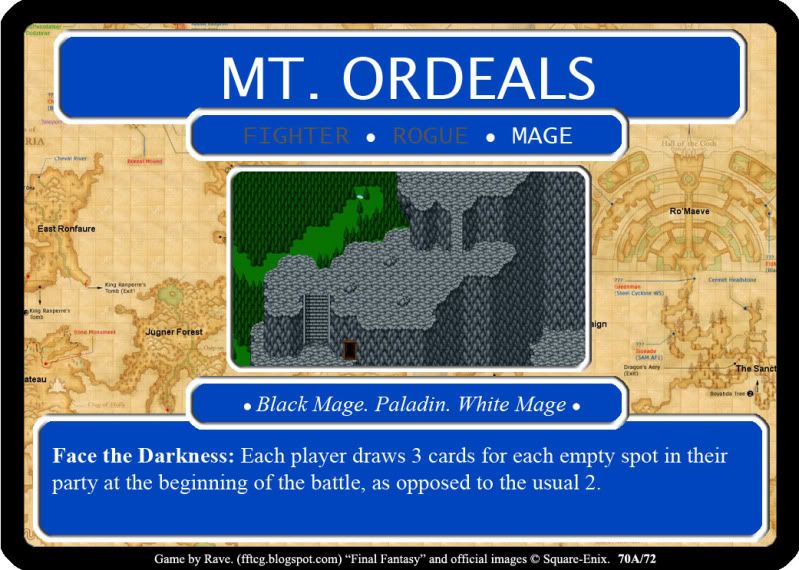
The location cards will have a title, picture, favored class (as i mentioned before), two leadership totals, and a global ability that activates. That probably makes as much sense as Metal Gear, so let me give you an example.
Mount Ordeals
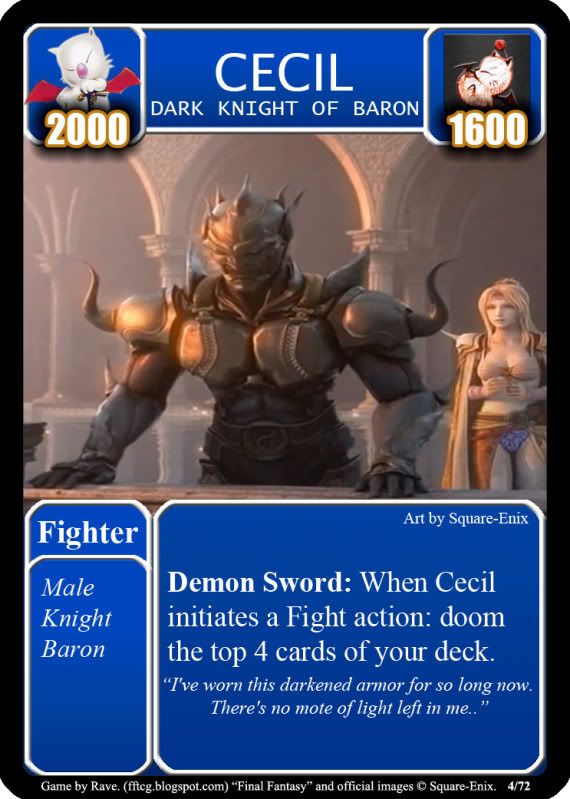
(This is the mountain where Dark Knight Cecil goes in FFIV to become a Paladin... spoiler alert ;P)
Favored Class: Mage (Leadership 2/4)
The favored class mechanic tells you which class is most prepared to deal with the area, and in this case, most prepared to be the leader.
After the card is placed, Player 1 plays a character in his hand that he wants to be the leader of the party, followed by player 2. (If player 2 chooses, he may decline to play a leader, and give the relic to player 1) If that character is a member of the preferred class, you would use the higher unit number (4), otherwise use the lower (2). (This is something I blatently stole from the Starcraft Board Game, I think it's a cool concept, and I hadn't seen it anywhere else)
-This number tells you how many extra characters can join the battle besides the leader. Since you're fighting for the area's relic, it's good to have more forces on your side. So in FFTCG, it will be to your benefit to have a variety of character types.
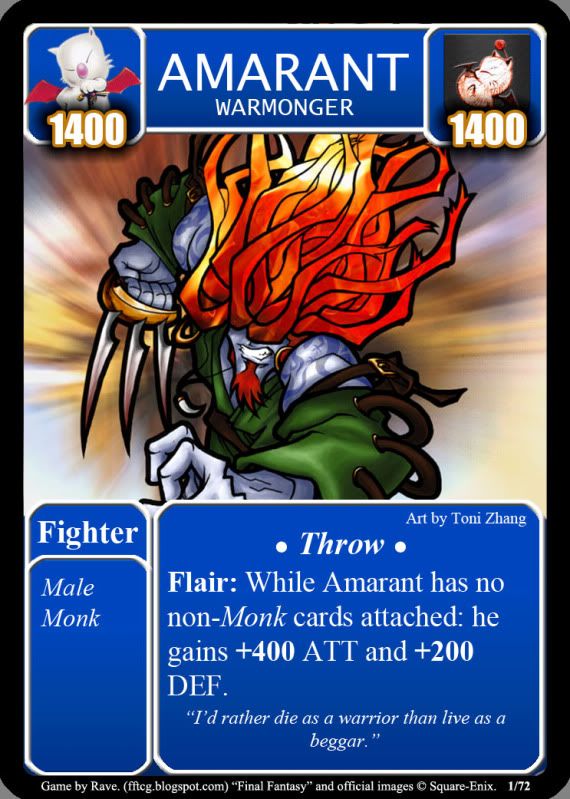
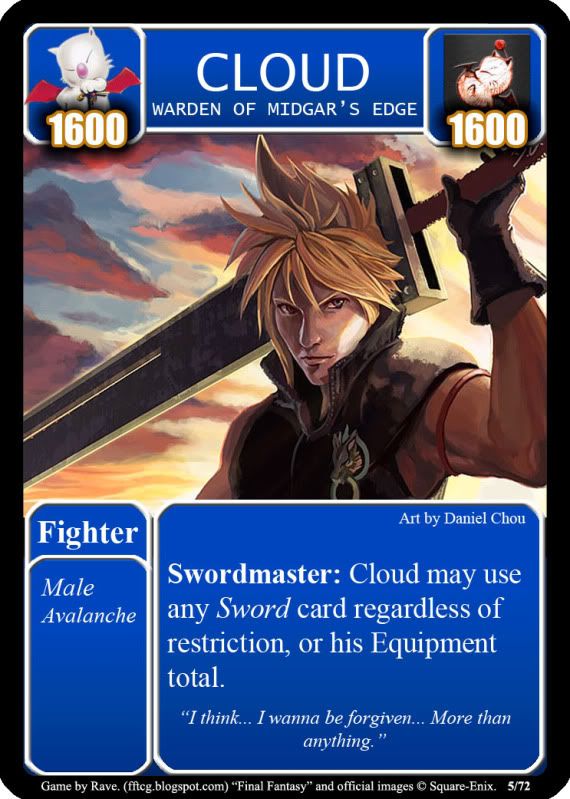
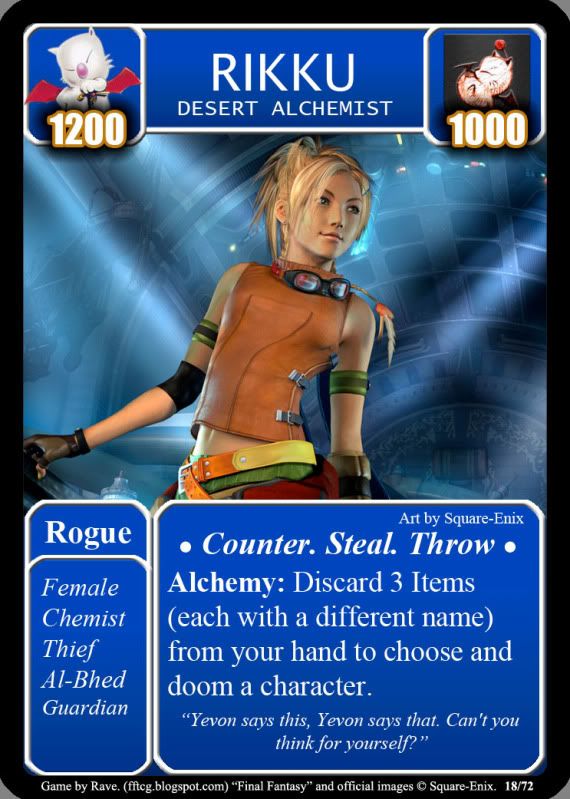
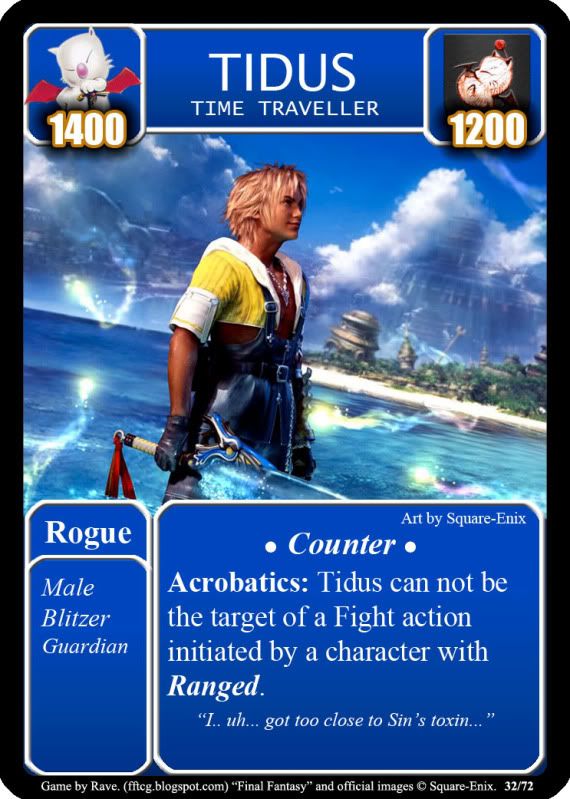
I've split every character in Final Fantasy into 3 different types, each represented on the card by their sprite in Final Fantasy 1. The 3 classes are just vague representations of the characters. Not all of the thieves are actually thieves, and such, it just is an easy way to group the light armored guys together. The classes don't grant any abilities by themselves, they're there for flavor (not literally) and to set up the aforementioned leader/unit mechanic.
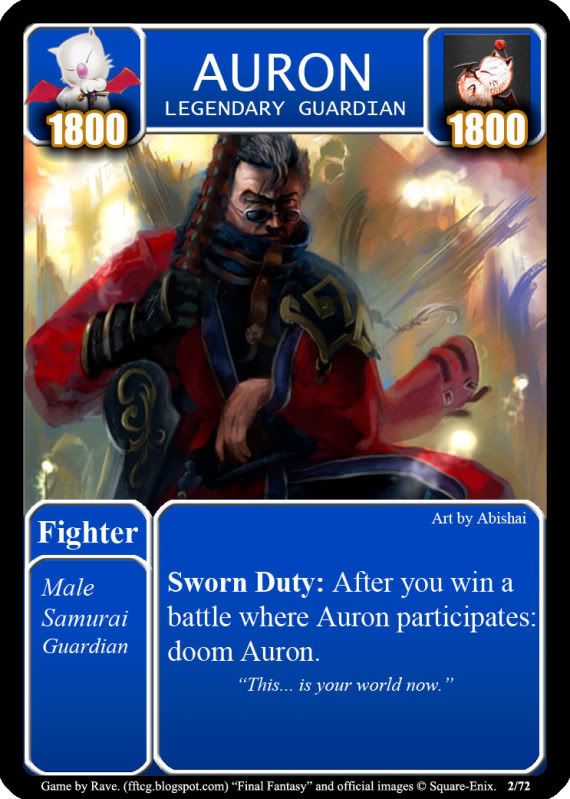
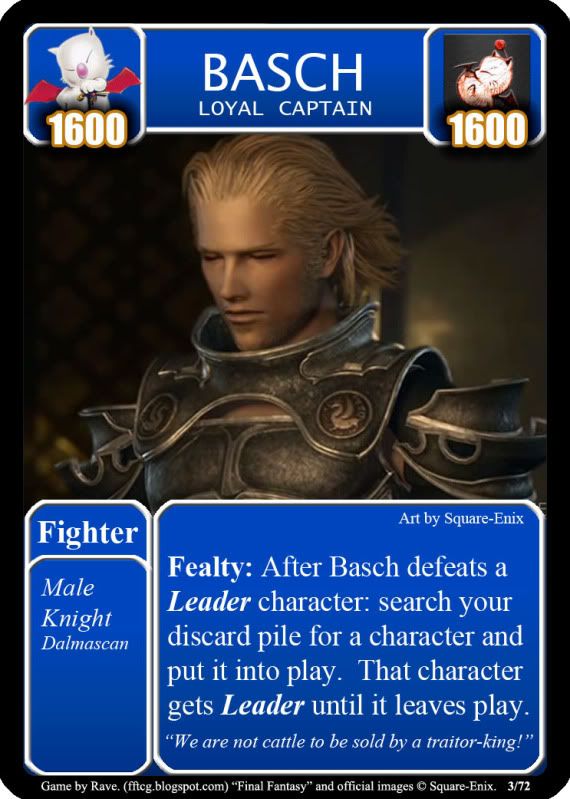
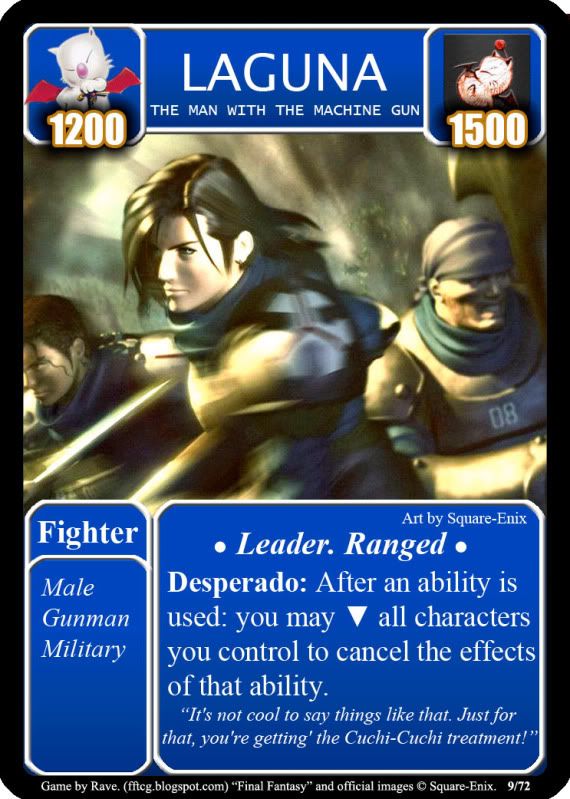
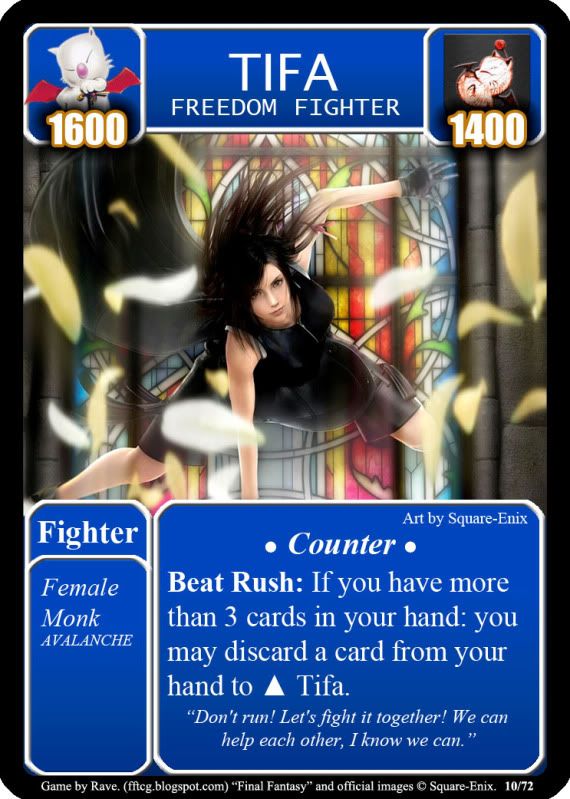
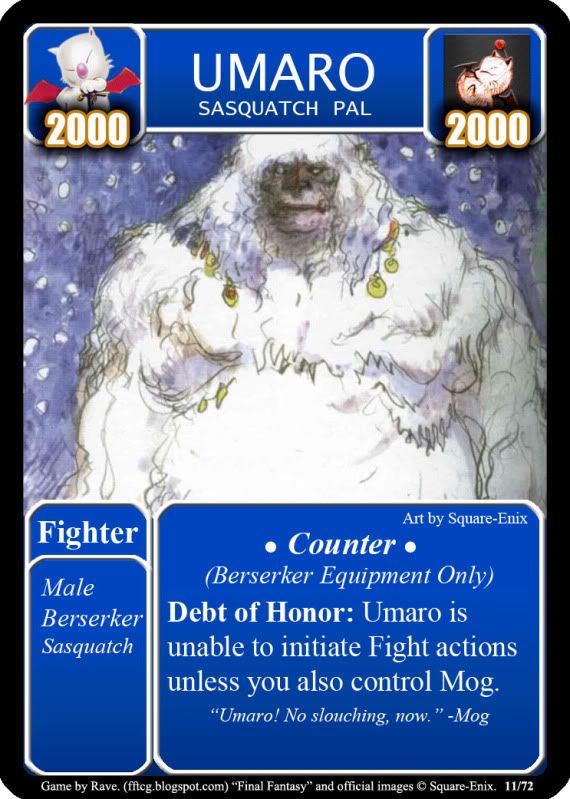
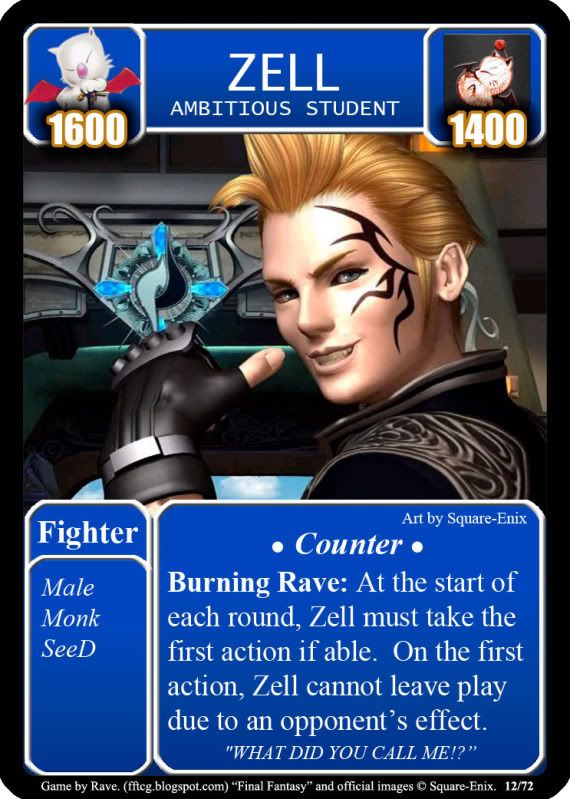
Fighter- This includes all the warmongers, knights, martial artists, abominable snowmen, angry black men etc. (Cloud, Auron, Umaro, and Barret are examples of fighters)
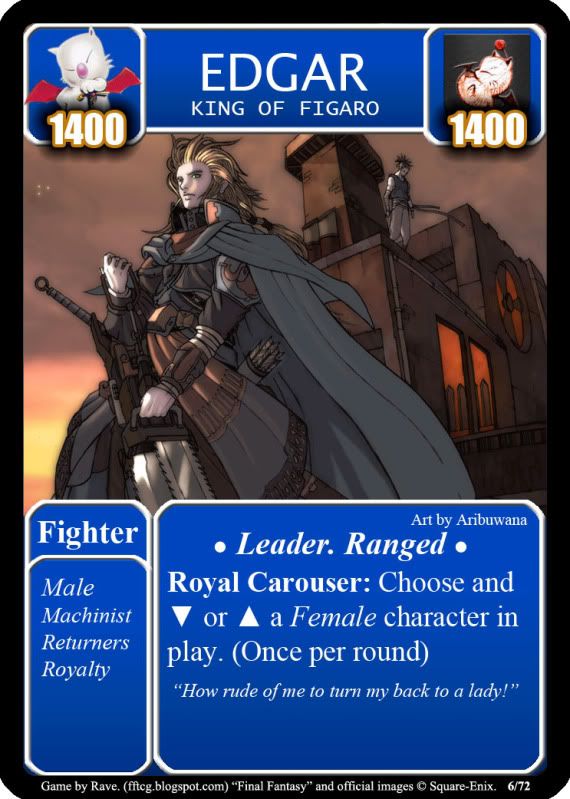
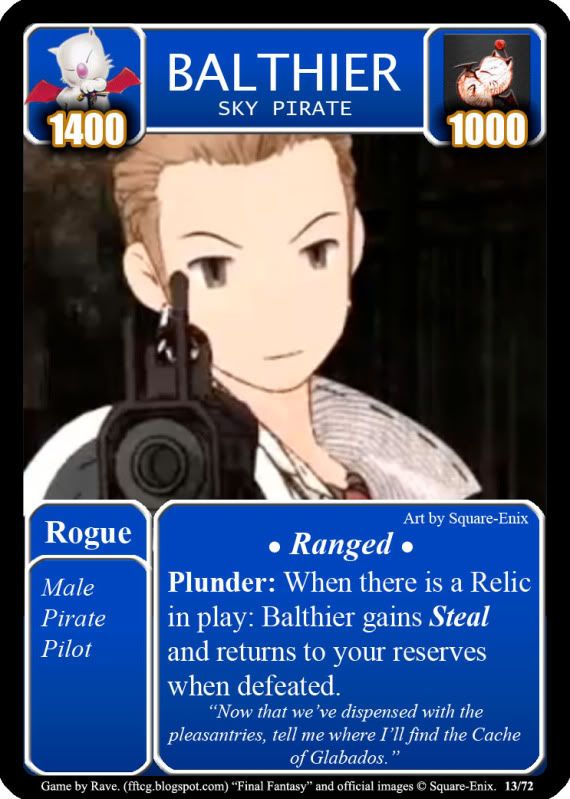
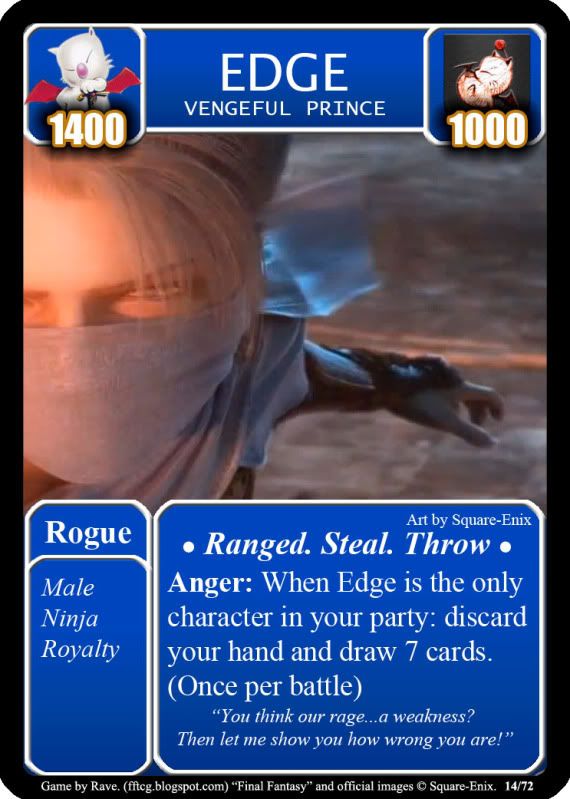
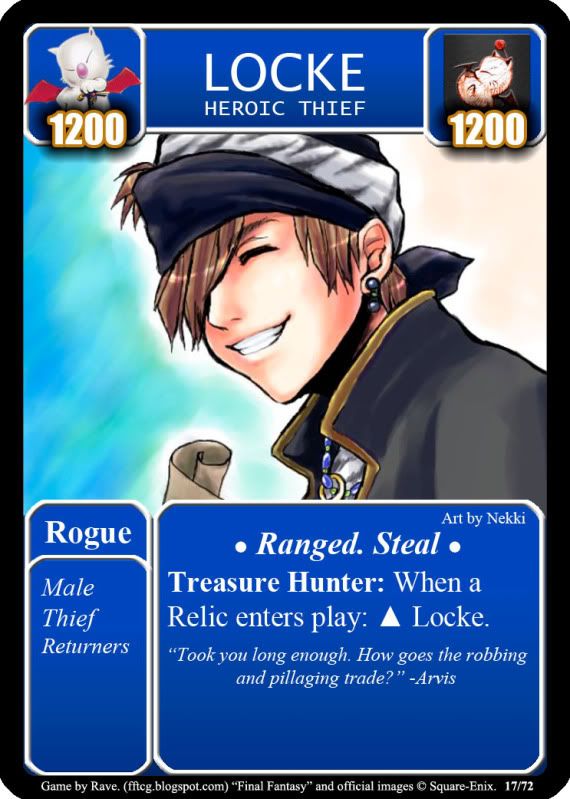
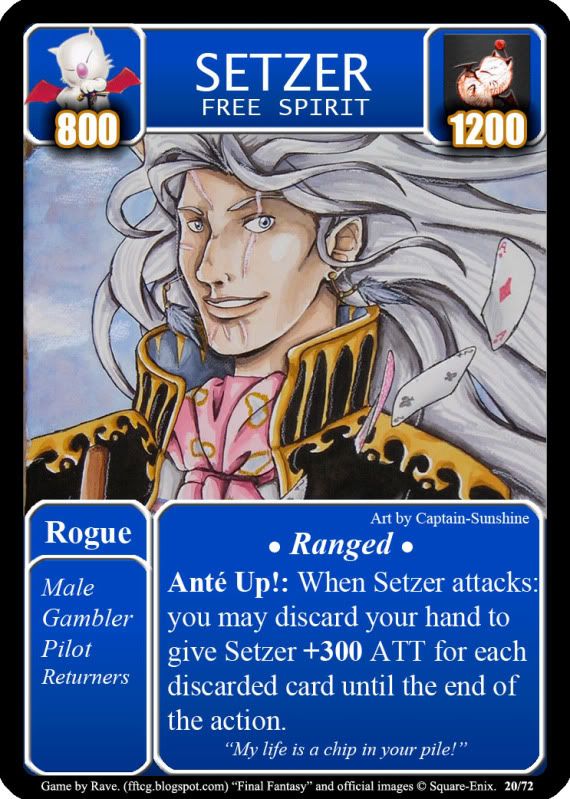
Thief- This includes... well... Thieves, and those considered fighters, but would be more of the archer, ninja or other lightly armored characters.
(Locke, Quistis, Setzer, and Edge are examples of "thieves")
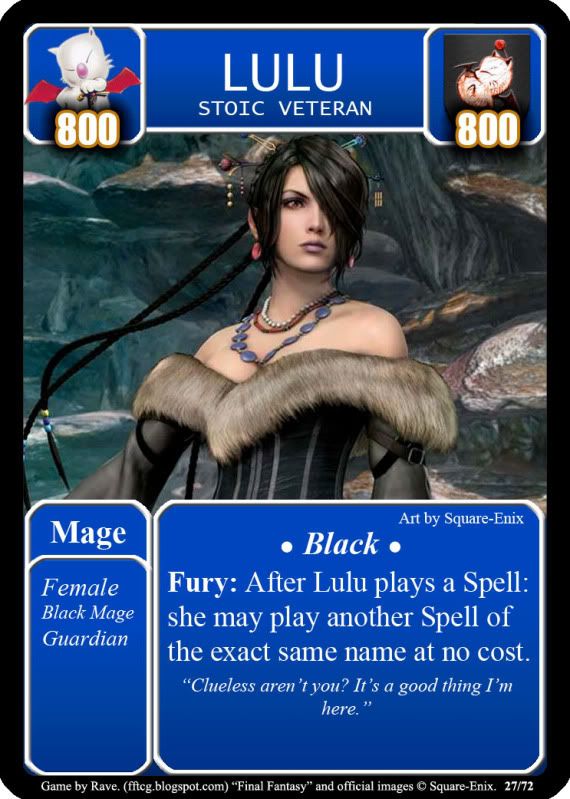
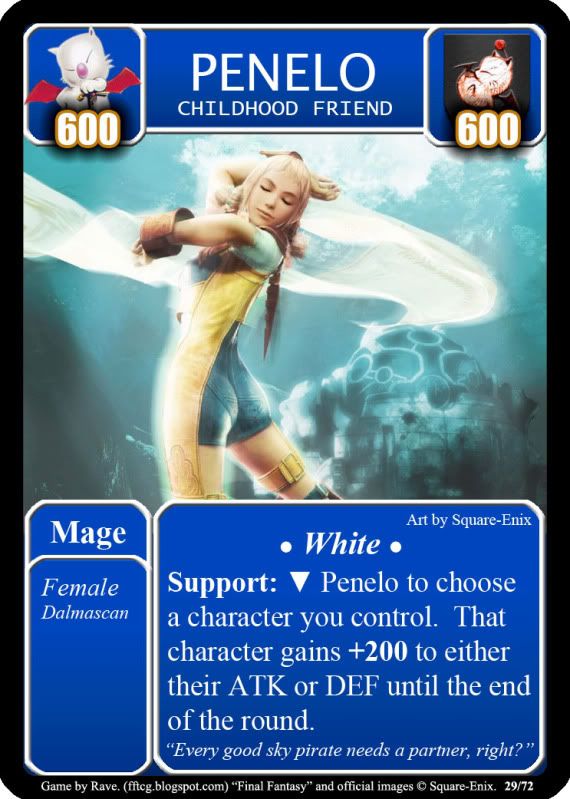
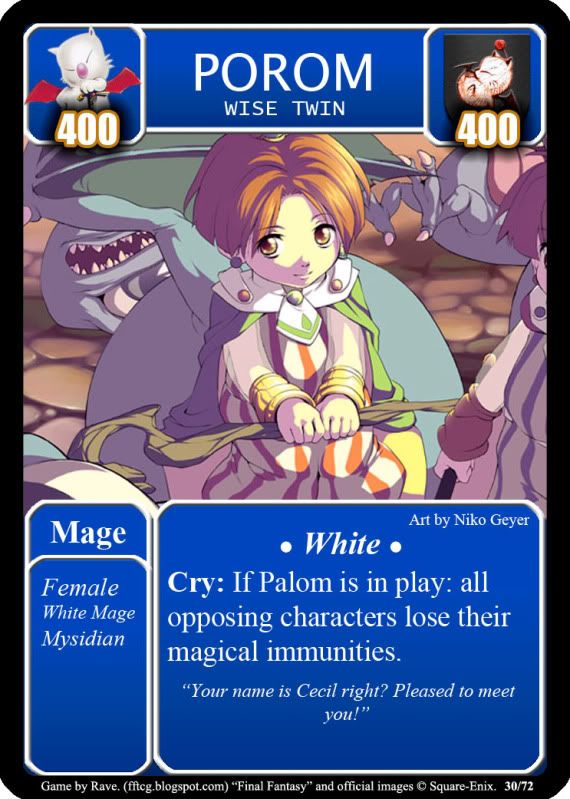
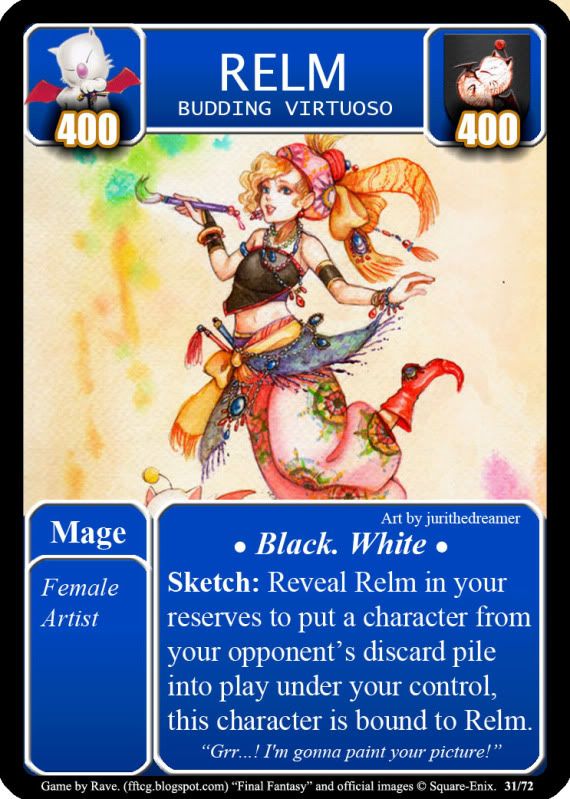
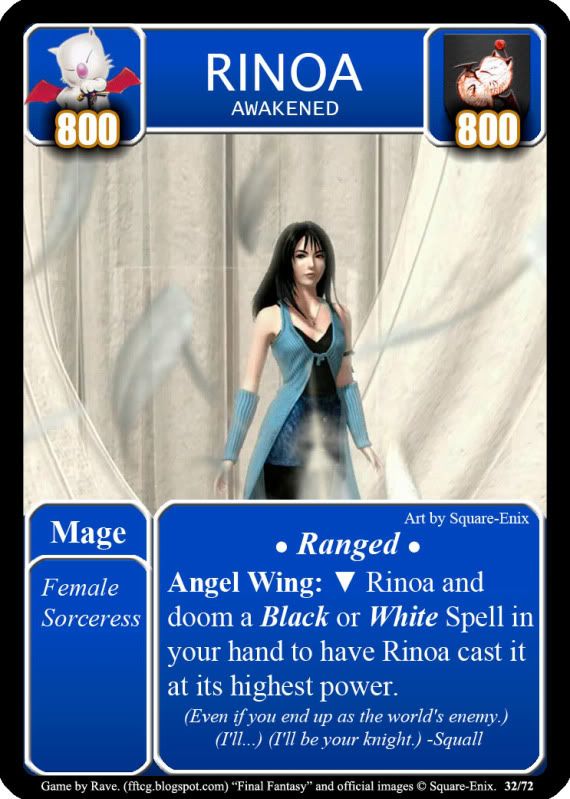
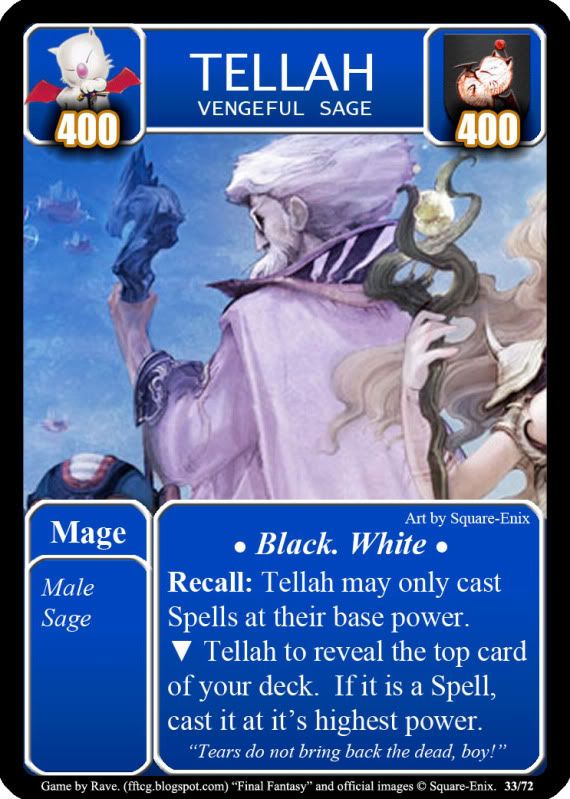
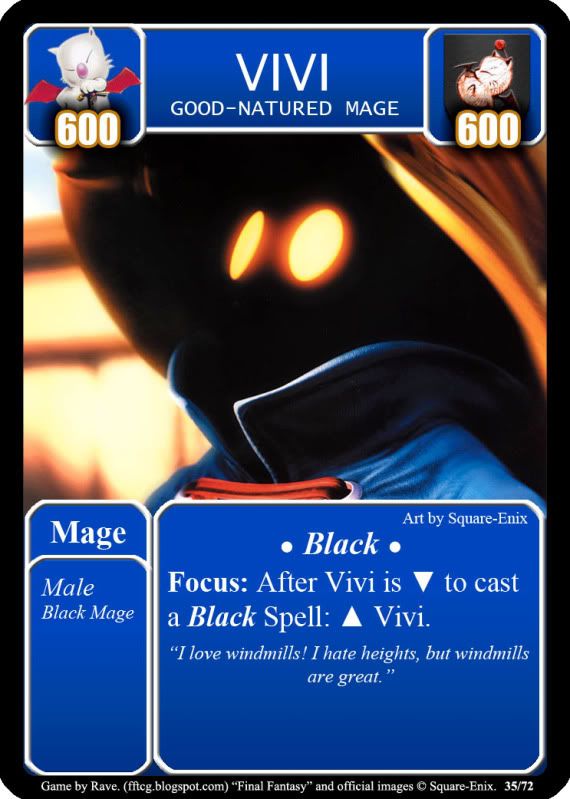
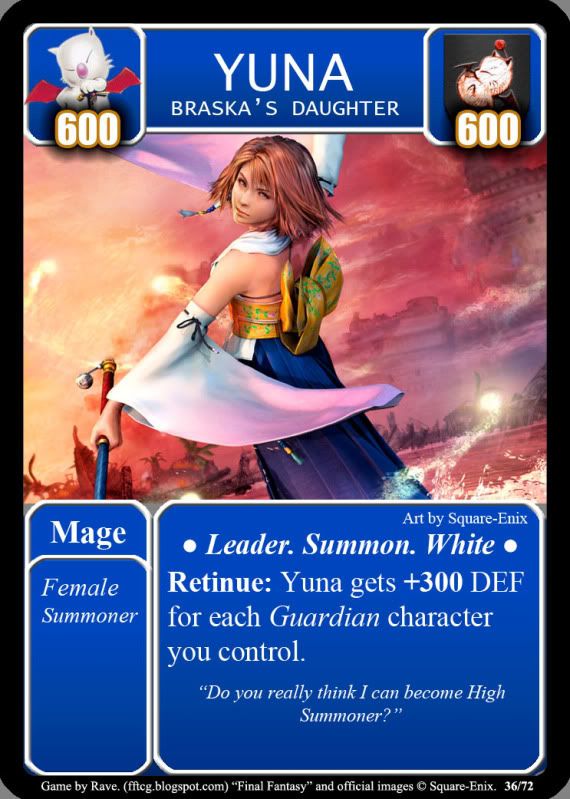
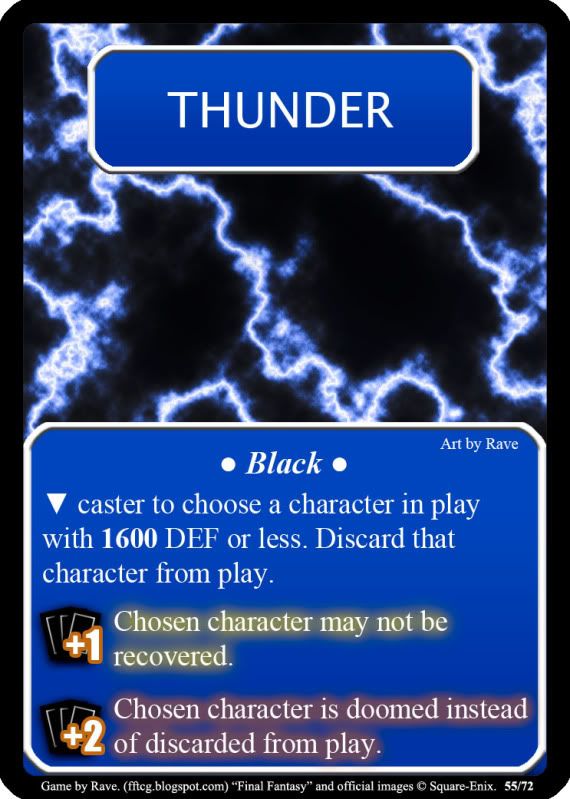
Mage (Specifically Black Mage as far as the sprite goes)-
These are all of the mages, black, white, red, summoner, they will generally have horrible defense, but will let you use magic cards. Magic cards are generally pretty powerful, because they're exhastable, and make you give up some card advantage to use them.
After both players have placed their leaders, player 1 will play out his forces, followed by player 2. (Player 2 gets a serious advantage in this phase, but player 1 played the location/relic, so he has the advantage in that respect.)
Battle Phase-
The battle phase is the meat and potatoes of the game, it is here where you pit each character against each other. Player 1 and 2 simply alternate actions until one side retreats or is destroyed. Every two actions, each player gets to draw a card as well.
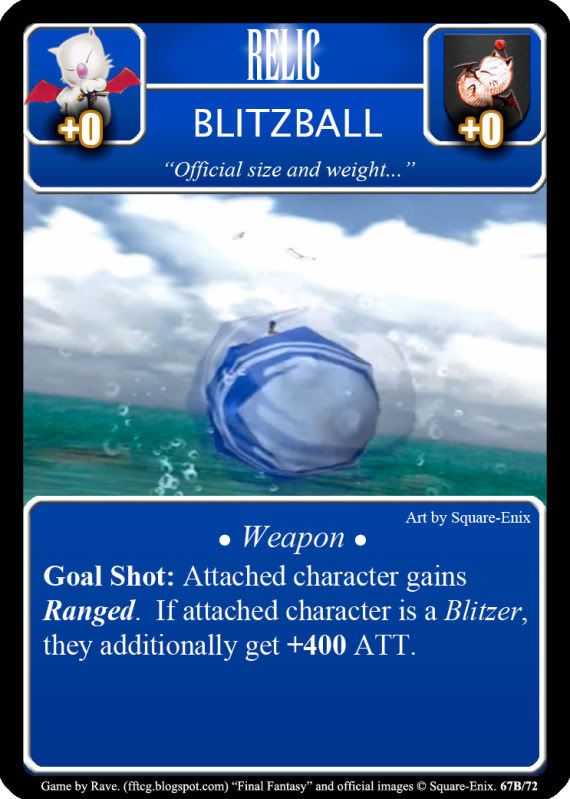
The battle is set up like traditional final fantasy, with a front and back row. The difference is that in the card game, you can't attack the back row at all without a card effect, or the ranged keyword. Yes, this means Umaro can't kill Yuna if she's hiding behind Auron. (Unless he gets a blitzball, oh.... that would not be pretty.) And of course, you can't have a back row without a front row, so when the last character in the front row is defeated, all back row characters will move to the front. (If Umaro defeats Auron, he gets access to the creamy center!)
The actions are as follows
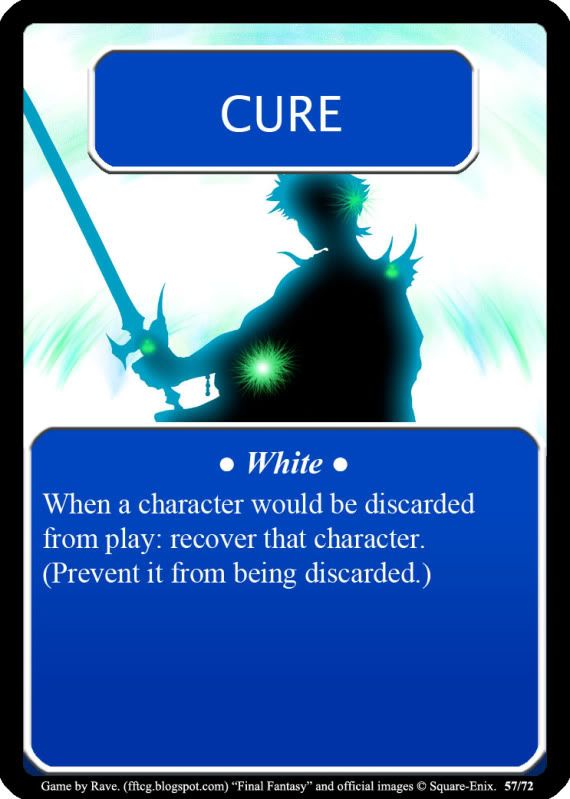
Attack- Pretty simple, you tap the character you want to attack (I'll use MTG terminology for you guys, but the actual cards just use symbols to describe cards tapping, and readying) and then choose an opposing character to get beat on. The defending character gets a free counterattack as well if it's a legal target. (Umaro cant be counter-attacked by Yuna because she has no Ranged keyword, pretty clever Umaro) You just match each attackers attack to each characters defense, if they equal or surpass the number, the character is discarded. (Gotta love that Starcraft board game!) Of course, there will be items, and white magic you can use to keep your characters from being discarded. (If Yuna casts Cure on herself, or Auron uses a potion, she'll be ok and Umaro will be upset. Good thing he wasn't a legal target for a counterattack. Though I doubt she could hurt him with her stick anyway...)
Move-Move one character from a row to the other, could be nice to get a front row shot at a mage, or retreat a thief to the back when a fighter pops up.
Spells/Items- If these can be used, they will say so on the card. Various effects unnecessary to get into now.
Add Character- If you are under your max character limit for the battle determined by the leader, add a character from your hand to battle. (Note: If the leader dies, you lose the higher troop # and are stuck with the low one)
Draw a card- duh. Don't confuse this with the 1 card you get to draw after both players have an action though. This is separate.
Retreat- Return all of your characters to your hand, and forfeit the Relic.
Once only one side remains, the phase ends.
Cleanup Phase- (It will probably be called something else later, but I'll roll with it now.)
All that really happens in this phase, is that the winner returns all living characters to his hand, and takes the relic for himself... and then player 2 starts over and plays his relic...
So here's your basic rule framework. Don't worry, you get a picture next update, as a reward for wading through all of this text.
Subscribe to:
Post Comments (Atom)

No comments:
Post a Comment